Many web hosting providers support and automatically enable Let’s Encrypt and redirect http to https by default. GoDaddy does not yet support it but we can manually install and configure our sites on GoDaddy shared hosting to support SSL. This is done in two steps. In the first step, we need to generate certificates from a certificate authority (CA) and then in the second step, we need to download generated certificates and upload it to the GoDaddy servers and configure it there.
Support for third-party SSLs on GoDaddy
While generating SSL certificates for our domain, we will also need to verify domain ownership to CA. In order to verify domain ownership using HTTP verification, we will need to create appropriate files with specific text strings under “httpdocs/.well-known/pki-validation/” directory on our web server. We also need to make sure that those appropriate files are accessible in the directory. We will first create the folders “.well-known” inside “httpdocs” and “pki-validation” inside “.well-known”.
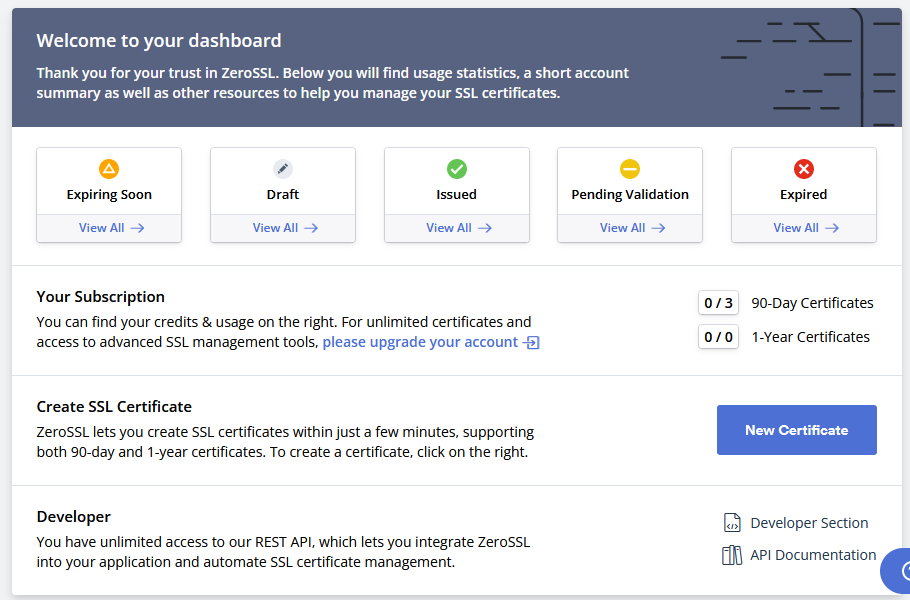
Now open zerossl.com. We will use ZeroSSL which is a Certificate Authority and is a good alternative to Let’s Encrypt. It allows you to generate up to 3 free SSL’s with a validity period of 90 days (just like Let’s Encrypt). Register on the site and then log-in to your dashboard to manage certificates. On your dashboard, click “New Certificate” button to create your first certificate. Remember these certificates are required to be renewed every 90 days. You can also upgrade by paying a nominal amount and genarate 1-year certificates but if renewing free certificates every 90 days is not too much of a hassle, you can continue with the free certificates.
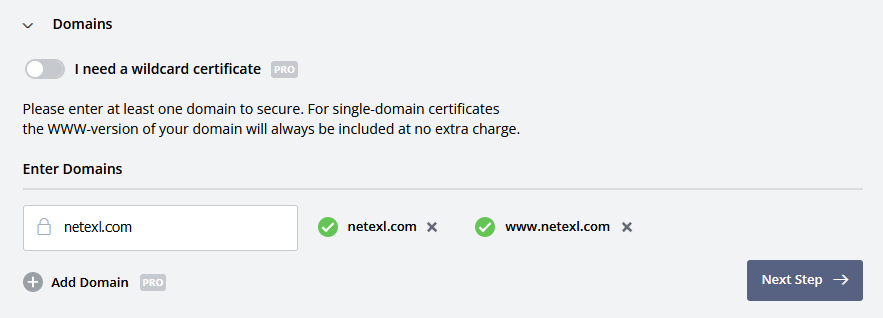
Now enter your domain name.
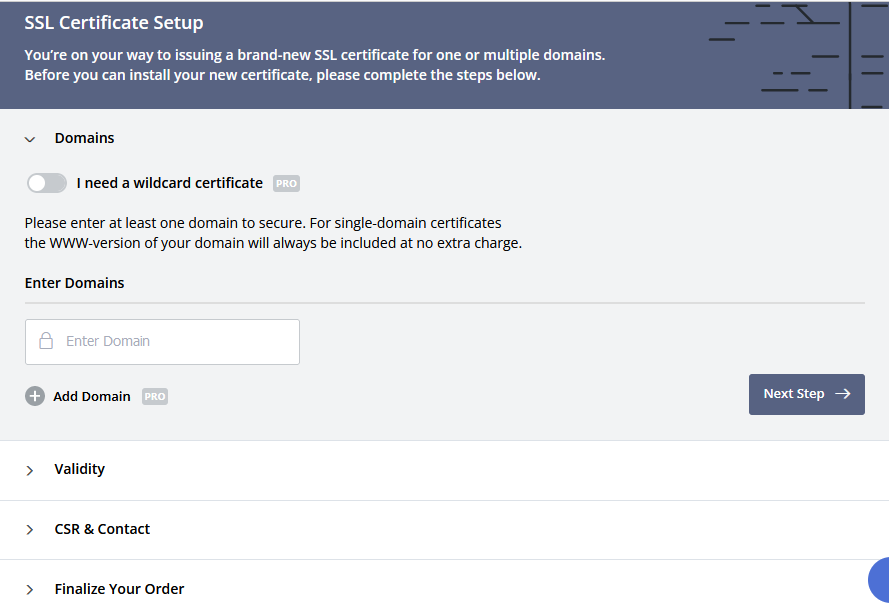
Simply enter your domain name without www. It will automatically include www version of your domain.
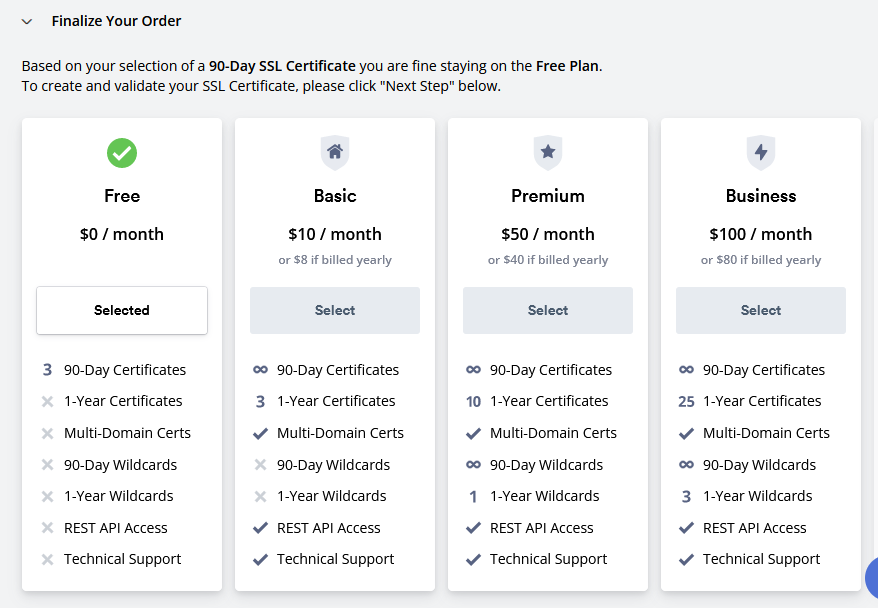
Click “Next Step”. In the validity section, simply select “90 days” validity. If you select “1 year” validity, then you would need to subscribe to a minimum of their basic plan and pay accordingly. Click “Next”. In “CSR and Contact”, select Auto-Generat CSR and click “Next”.
Click “Next Step”. This will take us to the domain verification step. We will use “HTTP File Upload” option. Follow the steps as described on the domain verification step. Create the required folders on your web server as specified below in the domain verification instructions
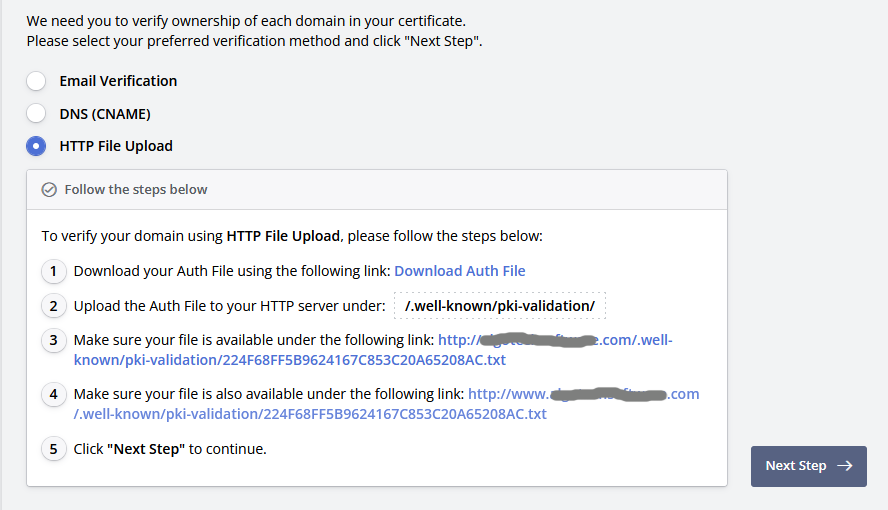
Download Auth File and upload it to the “/.well-known/pki-validation” folder. Click “Next Step”. On next page, click “Verify Domain” button to verify the domain. Once domain is successfully verfied, it will generate the certificate and give you the link to download it,
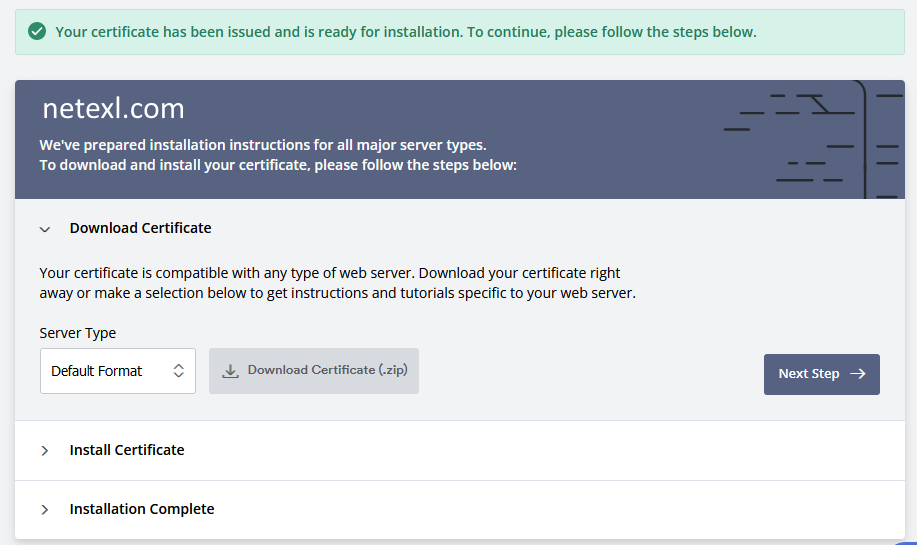
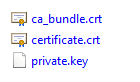
We will download the entire certificate zip file and unzip it to a folder which contains following 3 files
Now we need to login to “GoDaddy Plesk Admin” where we are going to install these certificates.
Go to “Websites and Domains” -> “SSL/TLS Certificates” under your domain -> Add SSL/TLS Certificates
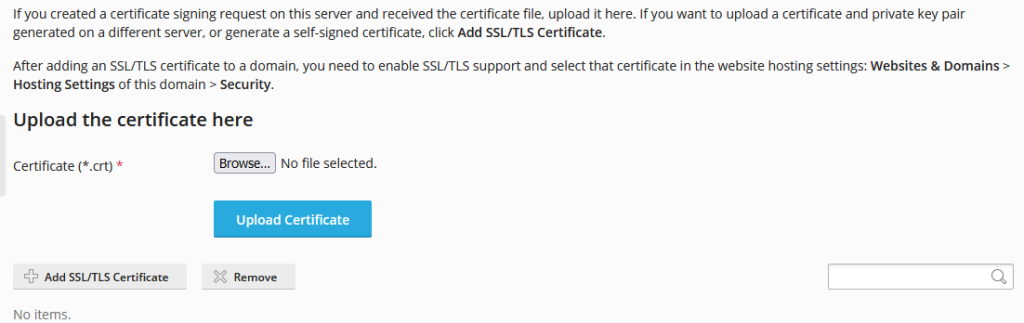
Clicking “Add SSL/TLS Certificate” here will take us to a form where we need to fill some details and upload certificates.
Fill all required details and upload certificate files. There are two options to upload certificates. One is to upload the files and second one is to copy the content of the certificate files as text. We will simply upload certificate files in stead of using the text option.
Once certificates are uploaded, go back to WebSites and Domains -> Hosting Settings -> Security. Make sure to select “SSL/TLS Support”and “Permanent SEO-Safe 301 redirect from HTTP to HTTPS”. In the certficate dropdown, we will select the SLL we just uploaded.

Select the SSL we just created for the website and click “Apply” button at the bottom.
Now try to open your website with https in stead of http and it should open.