In order to capture logs from an Android device, the first step is to download and install Android Studio on your computer.
Once Android Studio has been downloaded and installed, launch it. You need to create a new project in the Android Studio. Select the most basic template while creating the project. Once the project is created, it will be opened as following
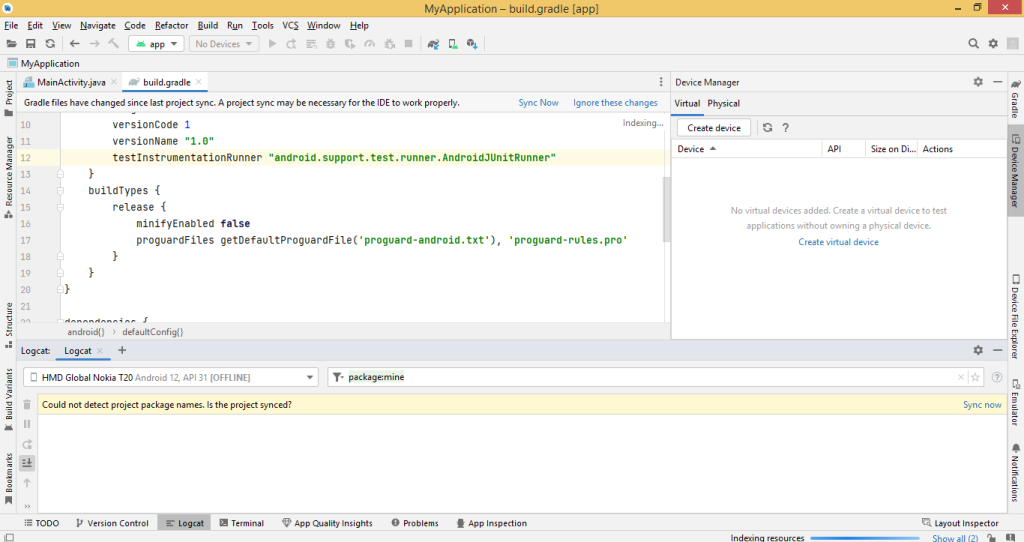
Notice the “Logcat” tab at the bottom. This is where we will be seeing logs from our Android device.
The next step is to connect the Android device with your computer. Before you connect your Android device with the computer, make sure to enable developer options on your mobile device.
In order to enable developer options on your mobile device, you need to go to the settings on your mobile phone and go to the “About phone” screen. You will see the phone’s build number. Tap it a few times to enable developer options. Once developer options are enabled, you will see a new tab “Developer options” under Settings -> System. Go to “Developer options” and enable “USB debugging”.
Now connect your mobile device to the computer. Make sure Android studio is also open and running. It will recognize your phone and will show it in the devices tab at the top. You might need to pair you device with the computer. In case it prompts you to accept something on your mobile or computer, just go ahead with it. Once the device is recongnized in the Android studio you will start seeing logs from your android device in the “Logcat” tab.